Imagine a sweet, chewy snack bursting with concentrated strawberry flavor, free from artificial additives and excessive sugars. This isn't a dream from a specialty health food store; it's the delicious reality of homemade dried strawberries. Far superior in taste and quality to their store-bought counterparts, making these vibrant treats at home is surprisingly simple, deeply rewarding, and a fantastic way to capture the essence of summer fruit year-round. Whether you're a seasoned chef or a kitchen novice, you're about to unlock a natural sweetness that will transform your snacking habits.
Why Make Homemade Dried Strawberries? The Healthier, Tastier Choice
In a world brimming with processed snacks, finding a genuinely healthy option that satisfies a sweet tooth can be a challenge. That's where homemade dried strawberries shine. When you dry strawberries yourself, you gain complete control over what goes into your snack – which is, quite simply, just strawberries! This means:
- No Added Sugars: Many commercial dried fruits are coated in extra sugar, turning a healthy fruit into a sugary indulgence. Homemade versions rely solely on the natural sugars of the fruit, which become delightfully concentrated during the drying process.
- No Preservatives or Artificial Ingredients: Bid farewell to sulfites, artificial colors, and other chemicals often found in packaged snacks. Your homemade batch is pure, clean, and natural.
- Superior Flavor: The difference in taste is often the most surprising benefit. Drying intensifies the strawberry's natural sweetness and tang, creating a vibrant flavor profile that store-bought versions rarely match. The chewy texture is also incredibly satisfying.
- Cost-Effective: Buying fresh strawberries in bulk, especially during peak season, and drying them yourself can be significantly cheaper than purchasing pre-packaged dried fruit, which often comes with a hefty price tag.
- Reduced Food Waste: Have a surplus of strawberries nearing their prime? Drying them is an excellent method of food preservation, extending their shelf life and ensuring none of that delicious fruit goes to waste.
Beyond the health benefits, making dried strawberries at home is an incredibly satisfying culinary experience. It's a simple project that yields a versatile ingredient perfect for snacking, baking, or enhancing your breakfast.
Preparing Your Strawberries for Optimal Drying
The success of your homemade dried strawberries begins long before they hit the dehydrator or oven. Proper selection and preparation are crucial for achieving that perfect sweet, chewy texture and vibrant flavor.
Choosing the Best Strawberries
For the most delicious results, aim for the freshest, ripest strawberries you can find. Here's what to look for:
- Peak Season: Strawberries are at their sweetest and most flavorful during mid-spring to early summer in most regions. This is the ideal time to buy in bulk for drying.
- Firm and Red: Select berries that are a deep, uniform red color, indicating ripeness. They should feel firm to the touch, not mushy or soft. Overripe strawberries tend to become mushy during drying and may not retain their shape or texture well.
- Sweet Scent: A truly ripe strawberry will have a strong, sweet aroma.
Washing, Hulling, and Slicing
Once you've gathered your perfect berries, it's time for preparation:
- Wash Thoroughly: Gently wash the strawberries under cool, running water. Avoid soaking them, as they can absorb too much water.
- Pat Dry: Carefully pat them completely dry with a clean kitchen towel or paper towels. Any excess moisture will prolong the drying time.
- Hull and Remove Imperfections: Remove the green tops (hulling) with a small paring knife or a specialized strawberry huller. At this stage, also inspect each berry and cut away any bruised or discolored spots.
- Slice Evenly: This is arguably the most critical step. Slice your strawberries into uniform pieces. Thinner slices (about 1/8 to 1/4 inch thick) will dry faster and more evenly. If you have very small strawberries, you might only need to halve them, while larger ones might require quarters or thinner slices. Uneven slices will result in some pieces being perfectly dried while others are still moist, leading to potential spoilage.
Choosing Your Drying Method: Dehydrator vs. Oven
Whether you have a dedicated dehydrator or just a standard oven, you can create fantastic homemade dried strawberries. Both methods have their merits, and the best choice often depends on your equipment, time, and frequency of use. For a deeper dive into the pros and cons of each, check out our guide on Oven or Dehydrator? Perfect Dried Strawberries Any Way.
Dehydrator Drying: The Efficient Choice
A food dehydrator is designed specifically for this task, offering precise temperature control and consistent airflow. This leads to:
- Even Drying: Dehydrators circulate air uniformly, ensuring all your strawberry slices dry at a similar rate.
- Faster Process: Generally, dehydrators work more quickly than ovens, often finishing in 7-8 hours.
- Energy Efficiency: For frequent drying, a dehydrator is usually more energy-efficient than running an oven for extended periods.
Instructions: Arrange your prepared strawberry slices in a single layer on the dehydrator trays, ensuring no pieces overlap. Set your dehydrator to approximately 70°C (160°F). Drying time can vary greatly depending on your specific dehydrator model, slice thickness, and humidity, but typically ranges from 7 to 12 hours. Check periodically for doneness.
Oven Drying: Accessible and Effective
Don't have a dehydrator? No problem! Your oven can produce equally delicious oven-dried strawberries, though it may take a bit longer and require more monitoring.
- Accessibility: Most kitchens have an oven, making this a readily available method.
- Good Results: With proper technique, your oven-dried strawberries will be just as flavorful and chewy.
Instructions:
- Prepare Trays: Line baking sheets with parchment paper or silicone mats to prevent sticking.
- Arrange Slices: Place the strawberry slices in a single layer, ensuring they don't touch.
- Low Temperature is Key: Set your oven to its lowest possible temperature, typically between 60°C (140°F) and 90°C (200°F). High heat will cook, rather than dry, your fruit.
- Prop the Door: Crucially, prop the oven door open slightly (with a wooden spoon, for example) to allow moisture to escape. This prevents the strawberries from steaming.
- Dry Slowly: Oven drying can take anywhere from 3 to 8 hours or even longer, depending on your oven, temperature, and slice thickness. You'll need to check them every hour or two, rotating the trays and flipping the slices for even drying.
Step-by-Step Guide to Perfect Homemade Dried Strawberries
Regardless of your chosen method, the fundamental steps for achieving perfectly dried strawberries remain consistent. Let's recap and add a few more pro tips.
Step 1: Prepare Your Strawberries
As detailed above, start by washing your ripe, firm strawberries. Pat them thoroughly dry, hull them, and remove any blemishes. Then, slice them evenly, aiming for 1/8 to 1/4 inch thickness for consistent drying.
Step 2: Arrange for Drying
Carefully place the sliced strawberries in a single layer on your dehydrator trays or parchment-lined baking sheets. Do not overlap the slices; air circulation is key to even drying.
Step 3: Begin the Drying Process
- Dehydrator: Set the temperature to 70°C (160°F) and let it run for 7-12 hours.
- Oven: Set to the lowest possible temperature (60-90°C/140-200°F), prop the door open, and bake for 3-8+ hours, flipping slices and rotating trays every 1-2 hours.
Step 4: Check for Doneness
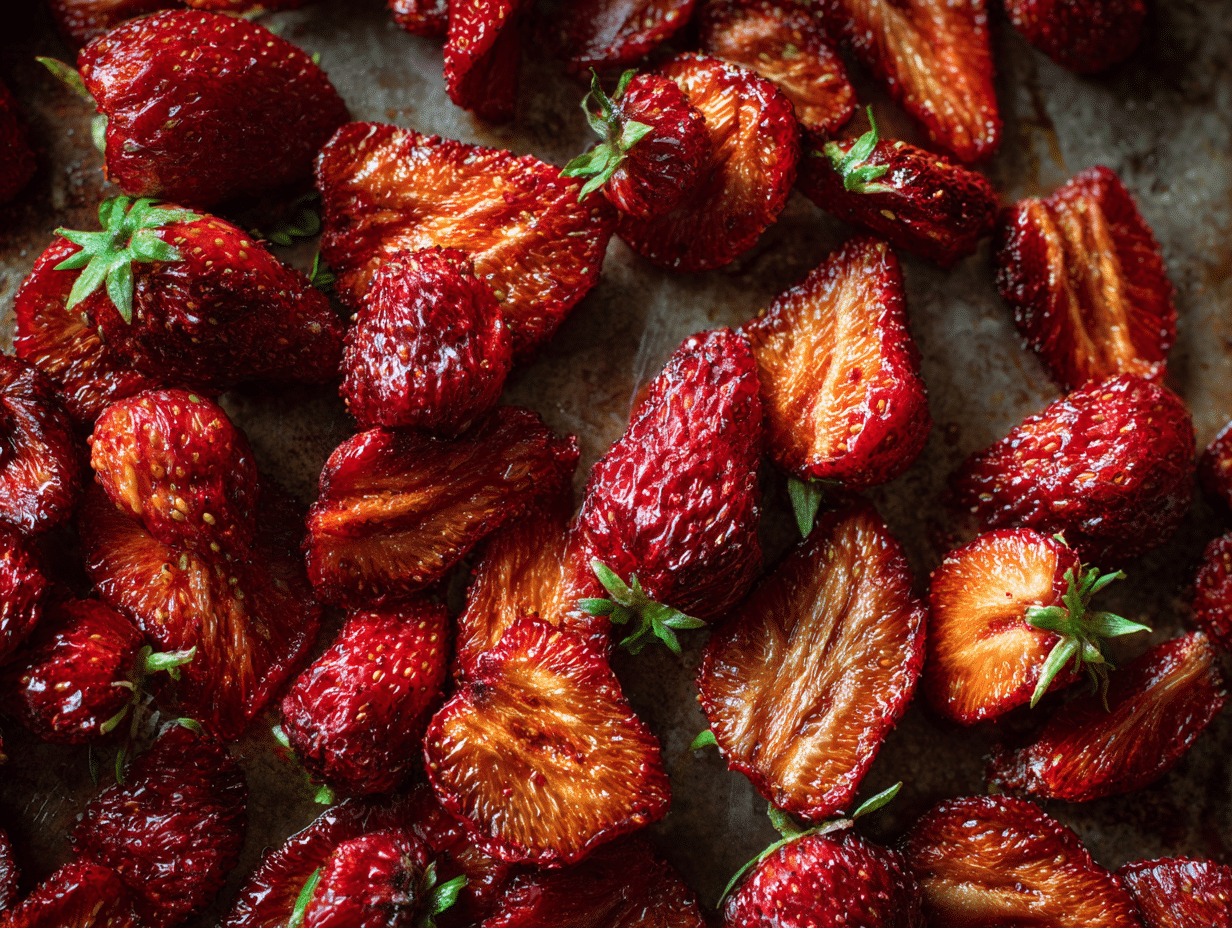
This is where patience pays off. Your homemade dried strawberries are ready when they are:
- Leathery and Pliable: They should be bendable but not brittle.
- No Visible Moisture: There should be no sticky spots or signs of moisture when you tear a piece in half.
- Chewy: They should have a satisfying chew, similar to raisins or other dried fruits.
If they feel sticky or still soft/moist in the middle, continue drying. It's better to over-dry slightly than to under-dry, which can lead to mold.
Pro Tips for Superior Homemade Dried Strawberries
- Don't Rush It: Drying fruit is a slow process. Patience will be rewarded with perfectly preserved flavor and texture.
- Conditioning: Once dried, let the strawberries cool completely. Then, transfer them to an airtight container (like a glass jar) and "condition" them. Shake the container daily for a week. This redistributes any residual moisture, preventing mold and ensuring uniform dryness. If you see any condensation, dry the strawberries a bit longer.
- Smaller Batches: If you're new to drying, start with a smaller batch to get a feel for your equipment and optimal drying times.
Storing and Enjoying Your Dried Strawberry Harvest
Once your Homemade Dried Strawberries: A Healthy Snack Made Easy are perfectly dry and conditioned, proper storage is essential to maintain their quality and extend their shelf life.
- Airtight Containers: Store them in clean, airtight containers such as glass jars, resealable freezer bags, or vacuum-sealed bags.
- Cool, Dark Place: For short-term storage (a few weeks to a month), a cool, dark pantry or cupboard is fine.
- Refrigeration/Freezing: For longer shelf life (several months to a year), store them in the refrigerator or freezer. This helps retain their color, flavor, and texture.
Creative Ways to Enjoy Your Homemade Dried Strawberries
The versatility of these natural powerhouses is immense:
- Snack On Their Own: The simplest and often best way to enjoy their concentrated sweetness.
- Breakfast Booster: Add them to oatmeal, yogurt, granola, or cereal for a burst of fruity flavor.
- Trail Mix: A classic addition to homemade trail mixes, providing natural sweetness and energy.
- Baking: Incorporate them into muffins, scones, cookies, or bread recipes. Rehydrate them briefly if your recipe requires more moisture.
- Salad Topping: A surprisingly delicious addition to green salads, offering a sweet counterpoint to savory ingredients.
- Garnish: Sprinkle them over desserts, ice cream, or even cocktails for a sophisticated touch.
Making homemade dried strawberries is more than just a recipe; it's an embrace of natural goodness, a step towards healthier eating, and a joyful culinary adventure. The process is straightforward, the rewards are delicious, and the versatility of the finished product makes it a staple you'll wonder how you ever lived without. So, gather your fresh berries, choose your drying method, and prepare to unlock a world of intense, natural sweetness right in your own kitchen.
