Homemade Dried Strawberries: A Healthy Snack Made Easy
In a world full of highly processed snacks, finding a sweet treat that truly nourishes your body can feel like a quest. But what if the answer was as simple as nature intended, crafted right in your own kitchen? Enter
homemade dried strawberries – a delightful, chewy, and naturally sweet snack that promises pure flavor without the added sugars, artificial ingredients, or preservatives often found in their store-bought counterparts.
Imagine biting into a perfectly chewy piece of strawberry, its natural sugars concentrated into an intense burst of flavor, far exceeding the flat taste of commercial dried fruits. Making these at home isn't just about avoiding unwelcome additives; it's about unlocking a superior taste experience. From the first batch, you'll likely be surprised by how simple the process is and how incredibly satisfying the results are. It's a healthy, easy-to-make option that quickly becomes a staple for anyone seeking a wholesome alternative to conventional sweets.
Why Choose Homemade Dried Strawberries?
The appeal of making your own
homemade dried strawberries goes far beyond just a tasty treat. It’s a conscious choice that benefits your health, your wallet, and even the environment.
First and foremost, **health is a major driver**. When you dry strawberries at home, you maintain full control over what goes into your snack – which is typically just strawberries! This means no high-fructose corn syrup, no sulfites, and no artificial colors that often lurk in commercial dried fruits. You’re preserving the natural goodness of the fruit, including its vitamins, minerals, and fiber, in a concentrated form. They become a fantastic source of energy, perfect for active lifestyles or a guilt-free indulgence.
Beyond health, there's the undeniable **superiority in taste**. The drying process intensifies the natural sweetness and vibrant flavor of fresh strawberries. Unlike store-bought versions that can sometimes taste bland or overly sugary, your homemade batches will burst with authentic strawberry essence. This makes them incredibly versatile – whether enjoyed on their own as a satisfying snack, stirred into oatmeal or yogurt, blended into smoothies, or even added to baked goods for a chewy, fruity kick.
Economically, drying fruits at home, especially during peak season, is an excellent way to **save money and reduce food waste**. When strawberries are abundant and affordable, you can buy them in bulk, dry them, and enjoy their deliciousness for months to come. This practice aligns perfectly with sustainable living, allowing you to savor seasonal produce all year round.
Oven vs. Dehydrator: Your Path to Perfect Dried Strawberries
When it comes to crafting your own batch of delicious
homemade dried strawberries, you essentially have two excellent tools at your disposal: a food dehydrator or your standard kitchen oven. Both methods yield fantastic results, though they each come with their own advantages. To dive deeper into which method might be best for your specific needs, check out our detailed comparison:
Oven or Dehydrator? Perfect Dried Strawberries Any Way.
A **food dehydrator** is often considered the ideal tool for drying fruits. It's specifically designed to maintain a consistent low temperature and circulate air efficiently, ensuring even drying and preventing spoilage. This steady, controlled environment makes the process largely hands-off once you've set it up, and it's particularly efficient if you plan on making dried snacks frequently. The consistent heat helps the fruit dry evenly from all sides, preserving more of its delicate flavor and texture.
However, if you don't own a dehydrator, don't fret! Your **oven** can absolutely produce equally delicious dried strawberries. While it might take a bit longer and require a little more attention, the results are just as rewarding. The key to successful oven drying is maintaining a very low temperature and allowing moisture to escape. This means utilizing your oven's lowest possible setting and often propping the oven door slightly ajar to prevent the fruit from cooking rather than drying. The oven method proves that you don't need specialized equipment to enjoy the benefits of homemade dried fruit.
The Step-by-Step Guide to Making Homemade Dried Strawberries
Making your own
homemade dried strawberries is surprisingly simple, requiring minimal equipment and just a few easy steps. The most crucial "ingredient" is patience!
Must-Have Ingredients and Tools:
- Fresh Strawberries: Choose ripe, firm, and vibrant red strawberries for the best flavor and texture. Avoid any that are bruised, mushy, or discolored. The better the fresh berry, the better the dried snack.
- Water: For washing.
- Sharp Knife and Cutting Board: For precise slicing.
- Clean Towel or Paper Towels: For patting dry.
- Dehydrator (Optional): If using, ensure trays are clean.
- Baking Sheets and Parchment Paper (Optional): If using an oven.
- Optional: Lemon Juice (for oven drying): A light spritz can help prevent browning and add a touch of tartness.
Detailed Directions for Making Dried Strawberries:
1.
Prepare the Strawberries:
* Begin by washing your strawberries thoroughly under cool running water. Gently rub away any dirt or debris.
* Once washed, pat them completely dry with a clean towel or paper towels. This step is critical, as excess moisture will prolong the drying time.
* Hull the strawberries by carefully cutting off the green tops and removing any white core or blemishes.
* Slice the strawberries evenly. For optimal drying, aim for slices about 1/4 inch (6mm) thick. Thinner slices will dry faster and more uniformly. Uneven slices will lead to some pieces being perfectly dry while others are still moist.
2.
Arrange for Drying:
*
For a Dehydrator: Place the strawberry slices in a single layer on your dehydrator trays. Ensure there’s no overlapping, allowing air to circulate freely around each slice.
*
For an Oven: Line baking sheets with parchment paper. Arrange the strawberry slices in a single layer, ensuring they don't touch. If desired, you can lightly spritz the slices with a very diluted lemon juice solution (1 part lemon juice to 3 parts water) to help preserve their bright red color, though this is purely optional.
3.
Start the Drying Process:
*
Using a Dehydrator: Set your dehydrator to approximately 70°C (160°F). The drying time can vary significantly depending on your specific model and the thickness of your slices, but it typically ranges from 7 to 10 hours. Check periodically for desired dryness.
*
Using an Oven: Preheat your oven to its lowest possible setting, typically between 50-70°C (125-170°F). Place the baking sheets in the oven. Crucially, prop the oven door open a few inches with a heat-proof wooden spoon or oven mitt to allow moisture to escape. Without this ventilation, the strawberries will bake rather than dry. The oven method will take significantly longer than a dehydrator, often 3-6 hours or even more. Flip the slices every 1-2 hours to ensure even drying.
4.
Check for Doneness:
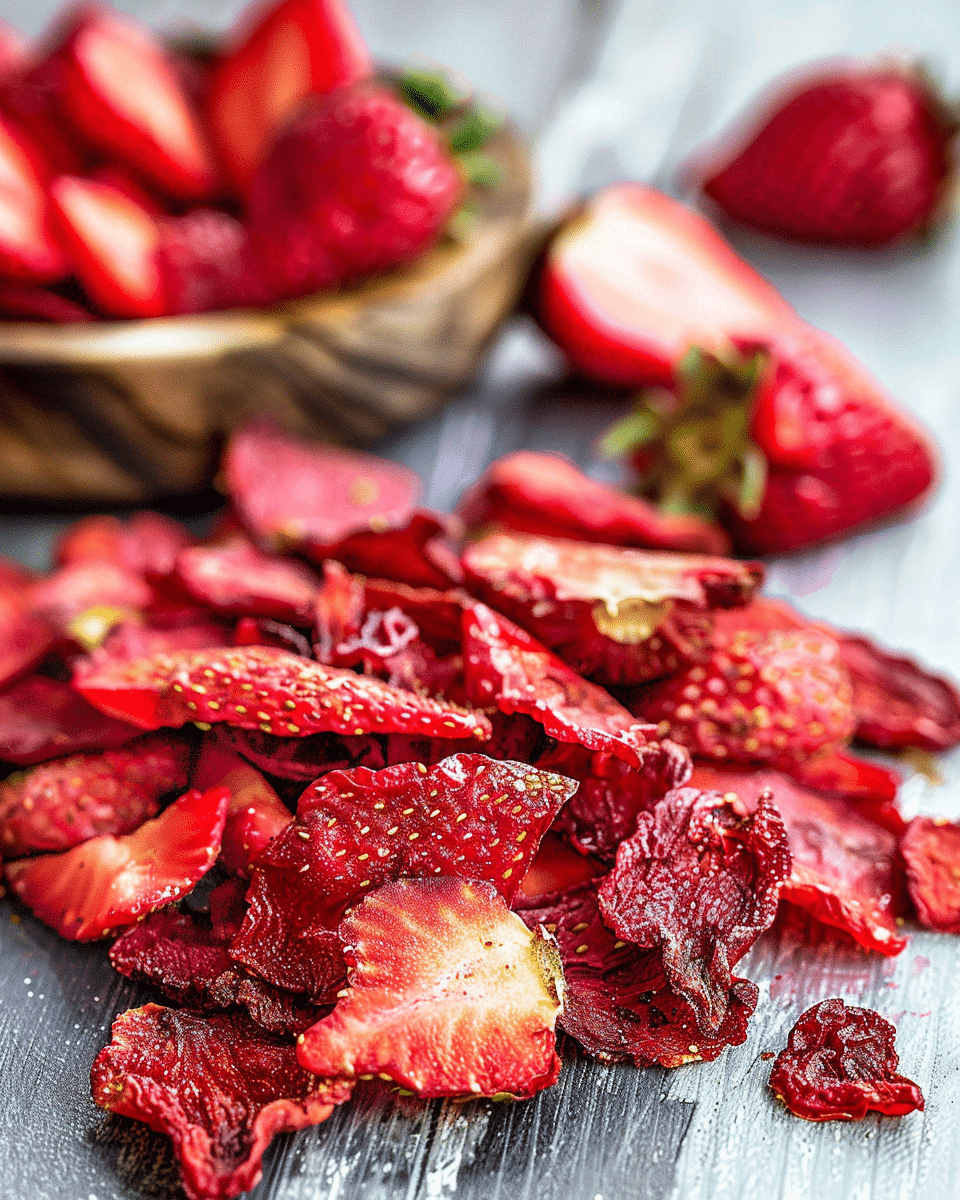
* Regardless of the method, your
homemade dried strawberries are ready when they are pliable and leathery but no longer sticky or moist to the touch. They should feel firm but still flexible, not brittle or crispy, and certainly not wet. If you tear a piece, there should be no visible moisture in the center. If they are still soft and moist, continue drying.
Pro Tips for Sweet Success and Smart Storage
Achieving the perfect batch of
homemade dried strawberries involves a few key insights that can elevate your results from good to truly exceptional. For even more detailed advice on maximizing flavor and getting the best possible texture, don't miss our guide:
Unlock Natural Sweetness: Make Better Dried Strawberries At Home.
Optimal Strawberry Selection is Key:
The quality of your fresh strawberries directly correlates to the quality of your dried ones. Always opt for strawberries that are:
- Fully Ripe: This ensures maximum natural sweetness. Underripe strawberries will result in a bland dried snack.
- Firm and Vibrant: Avoid soft, bruised, or moldy berries. They won't dry well and can affect the entire batch.
- Seasonal and Local: Berries in peak season (mid-spring to early summer in most regions) are generally the most flavorful and cost-effective.
Slice Evenly, Dry Efficiently:
Consistency in slicing cannot be overstated. Uneven slices will dry at different rates, leading to some pieces being perfectly done while others are still too moist or even over-dried and brittle. A sharp knife and a steady hand are your best friends here, aiming for uniform 1/4-inch slices.
Consider Pre-Treatment for Color and Flavor (Optional):
While not strictly necessary, a quick dip or spritz with a diluted solution of lemon juice (1 part lemon juice to 3-4 parts water) before drying can help prevent oxidation, which sometimes causes dried strawberries to brown. It also adds a subtle tangy note that complements the sweetness.
Proper Storage for Lasting Freshness:
Once your dried strawberries are completely cool, proper storage is crucial to maintain their chewiness and prevent spoilage.
- Cool Completely: Do NOT store warm dried fruit, as residual heat can create condensation and encourage mold growth.
- Airtight Containers: Glass jars with tight-fitting lids, vacuum-sealed bags, or robust plastic containers are ideal.
- Cool, Dark Place: Store them in your pantry, away from direct sunlight and heat.
- Conditioning (Optional, but Recommended): For the first week after drying, shake your container daily. If you notice any condensation or moisture build-up, return the strawberries to the dehydrator or oven for additional drying time. This "conditioning" step helps ensure all moisture is truly removed, preventing mold.
- Longevity: Properly dried and stored homemade dried strawberries can last for several months, often up to a year.
Beyond the Basics: Flavor Enhancements:
Before drying, consider sprinkling your strawberry slices with a tiny amount of ground cinnamon, a hint of vanilla powder, or even a touch of finely grated orange zest for an extra layer of flavor.
Conclusion
Making
homemade dried strawberries is more than just a recipe; it's an enjoyable venture into creating healthier, more flavorful snacks right in your own kitchen. This simple process allows you to bypass the artificial additives and excessive sugars of store-bought alternatives, offering a pure, concentrated burst of strawberry goodness. Whether you opt for the steady precision of a dehydrator or the accessible convenience of your oven, the satisfaction of producing your own delicious, chewy dried fruit is immense. So, next time fresh strawberries are in season, grab an extra punnet and embark on this easy and rewarding culinary adventure. Your taste buds and your body will thank you for this healthy, homemade treat.